Get the next shift to a stable setup.
Capture how the experienced setup technician changes the tool. Give the next shift the approach, connections and final checks at the machine in 3D and AR.
Request a demo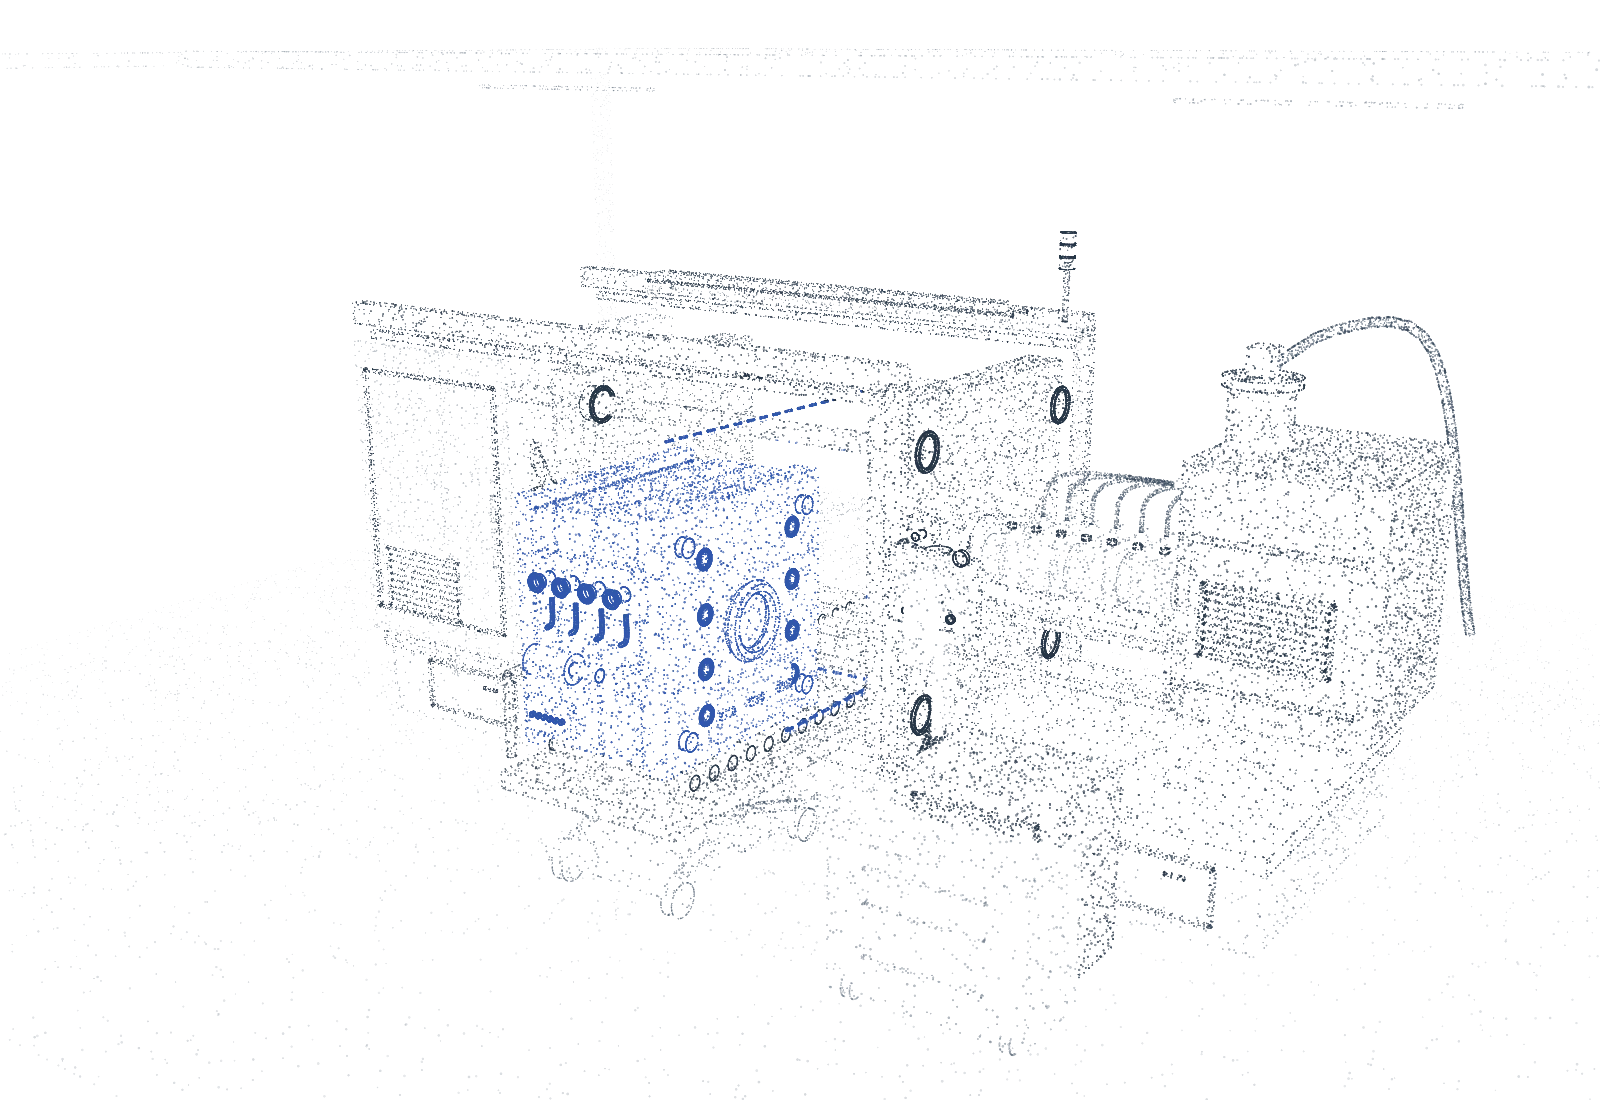
The same specialist keeps getting called back for the final adjustment. Put the tool’s approach, locating points and connection sequence alongside the setup sheet.
Show the tool approach, connections and setup checks through to the production handover.
Keep the specialist’s method for a difficult replacement available at the machine.
Reuse the common steps and review the tooling and access that differ at the next installation.
Capture a recurring mold or fixture change at the reference machine. Manufacturing engineering reviews the steps before the next team uses them.
Focus on the adjustments and repeated calls that delay the first good part. Test the method at the next factory, including the work needed to adapt it.
Identify the tool, locating faces and connections. Keep the setup sheet and source demonstration with the step they explain.
The technician can inspect the tool’s approach and installed position, then follow the reviewed step at the press.
The next shift sees the completed checks, the procedure used and any question still holding up the setup.
Where does 3D help?
Where locating surfaces, clearance or handling need more explanation than the setup sheet provides. Keep the parameters and original demonstration alongside the spatial steps.
What do we measure?
Time from the last good part to the first good part, repeated adjustments and specialist minutes. Include preparation costs and count additional output only when it can be sold.
How does a group rollout start?
Choose one machine and tool family in one to three factories. Compare results and local preparation effort before expanding.